
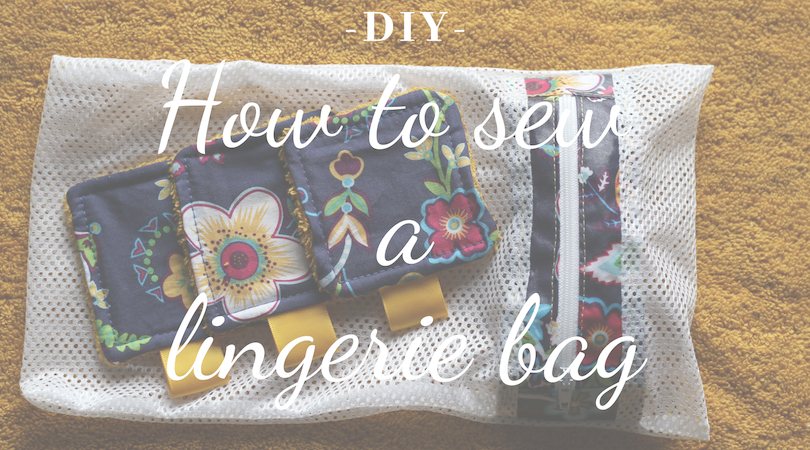
I’ve already shown you how to sew Reusable Makeup Remover Wipes and their bag. Here’s how to sew a lingerie bag to put them in the washing machine without losing them.
Fabric and notions
Fabric scraps
Lightweight fabric like mesh (I used some swimwear lining here. The one used for swim boxer)
A 15cm zipper
Thread, scissors/Olfa cutter, etc
Optional: Odicoat

Instructions for sewing the lingerie bag
Sewing the zipper on
Let’s pimp our zipper a bit!
Cut two strips of fabric, the same length as the zipper (the width doesn’t matter, just a little wider than the tape).
With right sides together, put each strip against the corresponding zipper tape and sew close to the zipper teeth.

Topstitch close to the zipper teeth.
Cut two small rectangles to cover the ends of the tapes.
With right sides together, place them just inside the zipper stops and stitch.

Topstitch from the right side.
NOTE: I used some Odicoat (How to apply Odicoat) to give the fabric more body, but it’s not absolutely necessary.
Sewing the lingerie bag
In the mesh fabric, cut a rectangle whose width will be 2cm more than the total width of your zipper. The length is between 35cm to 60cm, depending on the use.
Let’s sew the zipper, but…wait…it’s too short, isn’t it? No, that’ normal, you’ll see why later.

With right sides together, place one zipper tape on top of the mesh, matching the ends and the centers. The mesh should pucker a bit: place it against the feed dogs and the puckers will disappear when sewing! The magic of the differential! Stitch in place at 1cm from the edge.
VERY IMPORTANT: OPEN YOUR ZIPPER (you will thank me later).
Stitch the other tape the same way.
Topstitch along the seamlines.
Let’s sew the side seams. We will do it “the French way” because the fabric is lightweight and will be pulled, tumbled, etc in the machine.
Move your zipper down a bit. You don’t want it at the top of your bag.
With wrong sides together, stitch the sides at 0.5cm.
Put the garment on the wrong side and stitch at 1cm from the edge. Your side seams are done.
This bag looks weird…! It’s not flat!!!

With a flat bag, your lingerie/makeup wipes would not move freely during the wash and won’t be cleaned properly.
You can even enhance that feature by adding a strip of fabric with Odicoat at the bottom (but you will need to change the way you cut your mesh fabric).

You can use that bag for your wipes or for any delicate makes like handmade bras.

Voila, you won’t lose any delicate stuff in the washing machine anymore!
-I hope you enjoyed this tutorial-
Pin it for later:

This article may contain affiliate links.
