
A pettern…without pattern pieces!
I ordered the Making PDF pattern on Noodlehead’s website.
The price was a bit steep: $11.
As I wrote in the title, no pattern piece is provided. You have to draw your rectangles.

It bugged me a bit considering the rather high price. That’s right we will be saving ink and paper, but it irritated me nonetheless.
The instructions were not user-friendly: common measurements for both bags then differences, asterisks, etc. A bit of everything everywhere. If you’re new to bag making, I wouldn’t start with this one.
Once I was sure about the various measurments for my many rectangles, I traced and cut them.

My Harry Potter mini Making
As soon as I settled on the pattern, I knew I wanted a touch of magic in/on it.
Some heavy waterproof navy blue canvas* gifted by Minerva along with some HP-themed fabric from Camelot fabric I got from a French store.

A long list of suitable interfacings is in the booklet. Since I used heavy canvas, I skipped all of them, but H250 for my lining. I pondered whether switching G700 in lieu of H250. I had had bad experiences with H250, but decided to try it again…I shouldn’t have. I just hate the feeling of H250 on fabric.
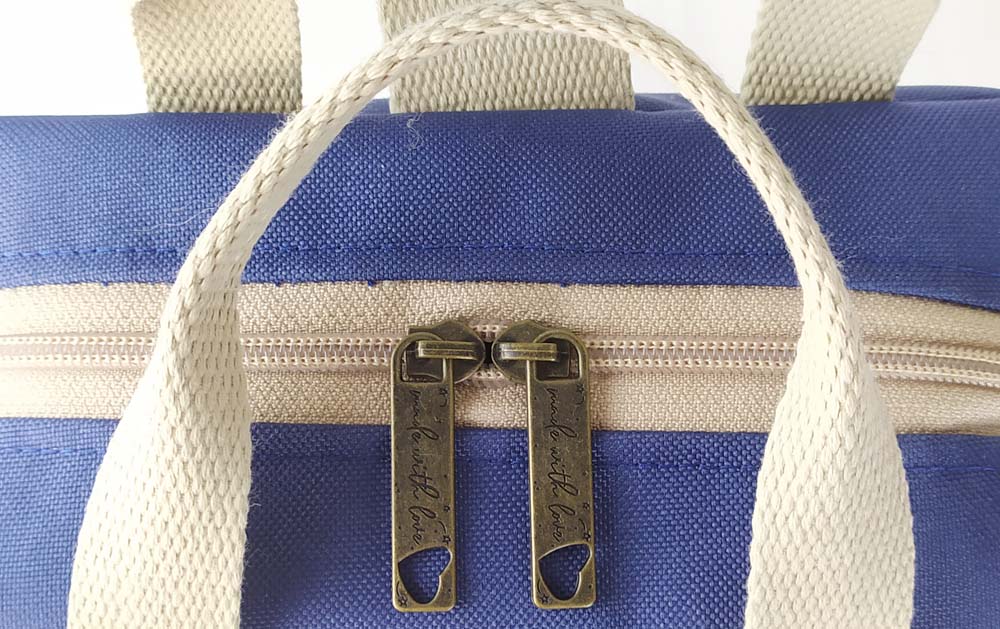
Sewing this bag is rather straightforward, once you have read the instructions a thousand times.
Customization and inner bag
I added this Hogwarts patch on the front pocket. Since waterproff canvas had a plastic backing, I didn’t fuse the patcch. Instead I put a spot of fabric glu.
The inner bag deserves closer examination. The lining is sewn to the main bag, leaving the edges raw. That means binding all of the raw edges.

I honestly dislike binding BUT it gives more structure to a bag.
The designer instructs to sew the binding in the seam allowances, leaving the assembly stitches visible. I didn’t like that way of proceeding so I placed the binding almost at the seamline and it covered it. Nicer!


The bag being rather small, large swivel hooks would have been too heavy. I went with 25 mm ones and cut fabric connectors. These are the two amazing video tutorials I used: one is for connectors and the other is for an adjustable strap with fabric connectors.

