
We may be quarantined, but I’m pretty sure that you will have everything in the house for that sweet little Easter basket.
Even the youngest can give a hand in the process.
That’s a tutorial I have never published (it’s dated 2015!).
What you will need for one basket

One big cereal box
One half of a small cardboard egg box
The shape of a bunny or any other critter
Paint, felt, cotton, fabric, washi tape, etc for the decoration
Glu and/or staples
First step
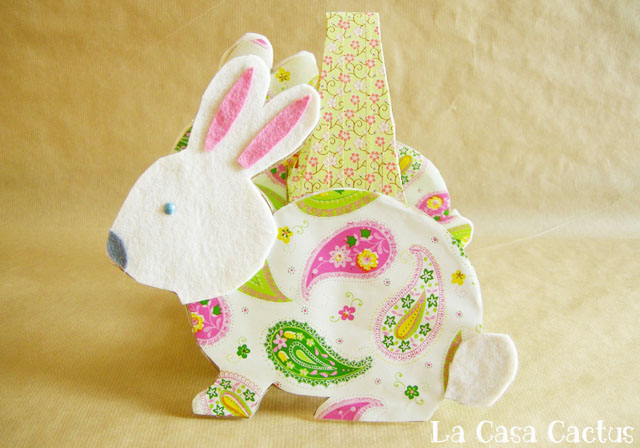
Cut 2 bunny shapes in the cereal box.
Cut the shapes MIRRORED!
Decorate the bunnies on both sides. You can use the bunny shape as a template to mix the means.

I used floral wrap paper and felt for the body and some 3D Tulip paint for the eye (you must let it dry…).

Second step
Cut the long sides of the cereal box to create the handle and attach the bunnies to the egg box.
You can slim the handle at its center to get a better grasp. Embellish the handle on both sides. You can use some washi tape or those bits and pieces of yarn that are not long enough for any other project. A perfect stash-buster!
Now, glu the remaining rectangle below the egg box and form a kind of cradle around it.

Third step
Glu/staple the handle on the “cradle”.

Glu the bunnies on each side.
You can even make the critters interchangeable by adding velcro instead of gluing them.

And voila, you have a new cute basket.

Other tutorials are available for Easter baskets and Stackable Bunnies.
This article may contain affiliate links.
